Hey gang!
Yeah yeah it's been a while.
 |
| Lower forearms |
I have results, though.
Left arm is complete (minus the fingers) and the Right arm is almost done to the same point.
I'll be applying the first outer layer of resin tomorrow, and probably the first inner layer the following day.
I hit a bit of a snag again, though...despite the fact that I have the brand-spankin' new Pepakura Mk VII pattern, apparently a lot of the armor was drawn from proportion and movie stills; I failed to take into consideration that I am not 5'8" and 175lbs (as Robert Downey Jr. is).
Far from it.
6'2" and 205lb makes me a linebacker by comparison... I can only imagine how I'm going to look when I'm in the suit. LOL
 |
| Hand plates |
So a chunk of the time between now and the last post was me printing the forearms, realizing how they didn't quite fit and redoing them.
Also the fingers... which were nit-picky as hell... and still have to be redone... I have shorter, blunter fingers and need to resize the gauntlets accordingly.
Luckily, the palms fit fine, so it's only the fingers I need to redo, and then only the middle joints - the fingertips are fine as well.
I have to use a bit of a spot-fix on the technique I'm using to resize them, though... I'll detail that in an upcoming post.
As for proportioning the armor properly, I found a way to do so that seems to work... and props to 'Xtreme Tactics 101' on the 401st forum for pointing this out.
 |
| Elbows |
- Get as many reference photos as you can of the movie-version of the armor... and print a good one that shows the bodypart you want to size.
- Measure (or have a friend measure) your height and the height of the 'movie' picture you printed (all in centimetres)... and compare the two... find the ratio (and round up)... 'Xtreme Tactics 101' says to round off, but it's better to estimate a little bigger than have it fit too snugly, in my opinion.
 |
| Chest (inside) |
Try to get a picture that's as large as possible, it makes the ratio conversion a little easier.- Measure the height of the picture )and add a few (5-10) centimetres here and there for the bottom of the boots and the height in the helmet, and all the rest of the 'extras' that will make the armor a little bigger than you are... and measure your own height (if you measure in inches, multiply by 2.54 to get your height in centimetres).
 |
| Biceps | |
- divide the height of the picture into the height you found for yourself, and there's your ratio number.
Okay... so the movie picture, with the applied ratio gives you a solid centimetre measurement for the estimated size you will need the armor piece to be to fit your body personally... if it helps, picture YOU in the armor that you see on the page in front of you. How long/broad would it have to be to fit YOU underneath it?
- Measure each bodypart (getyermindoutofthegutter!) that you want to print and apply the ratio between the 'movie' measurement and the 'you' measurement.
... now multiply that centimetre measurement by 10... now it's in millimetres (which is what Pepakura uses)
 |
| Upper Forearms |
In Pepakura Designer, there is a way to apply a scale change to the 2D model... take your estimated number (in millimetres) and plug it into the appropriate X-Y-Z axis selection (for example, head height, forearm length, etc.)
That should be enough to size the piece appropriately.
More on this later.
But yeah... like I said... I've not been idle:


 The chest, back, upper forearm (R & L), lower forearm (R & L), palm (R & L), bicep (R), upper shoulder (R & L), lower shoulder (R & L)
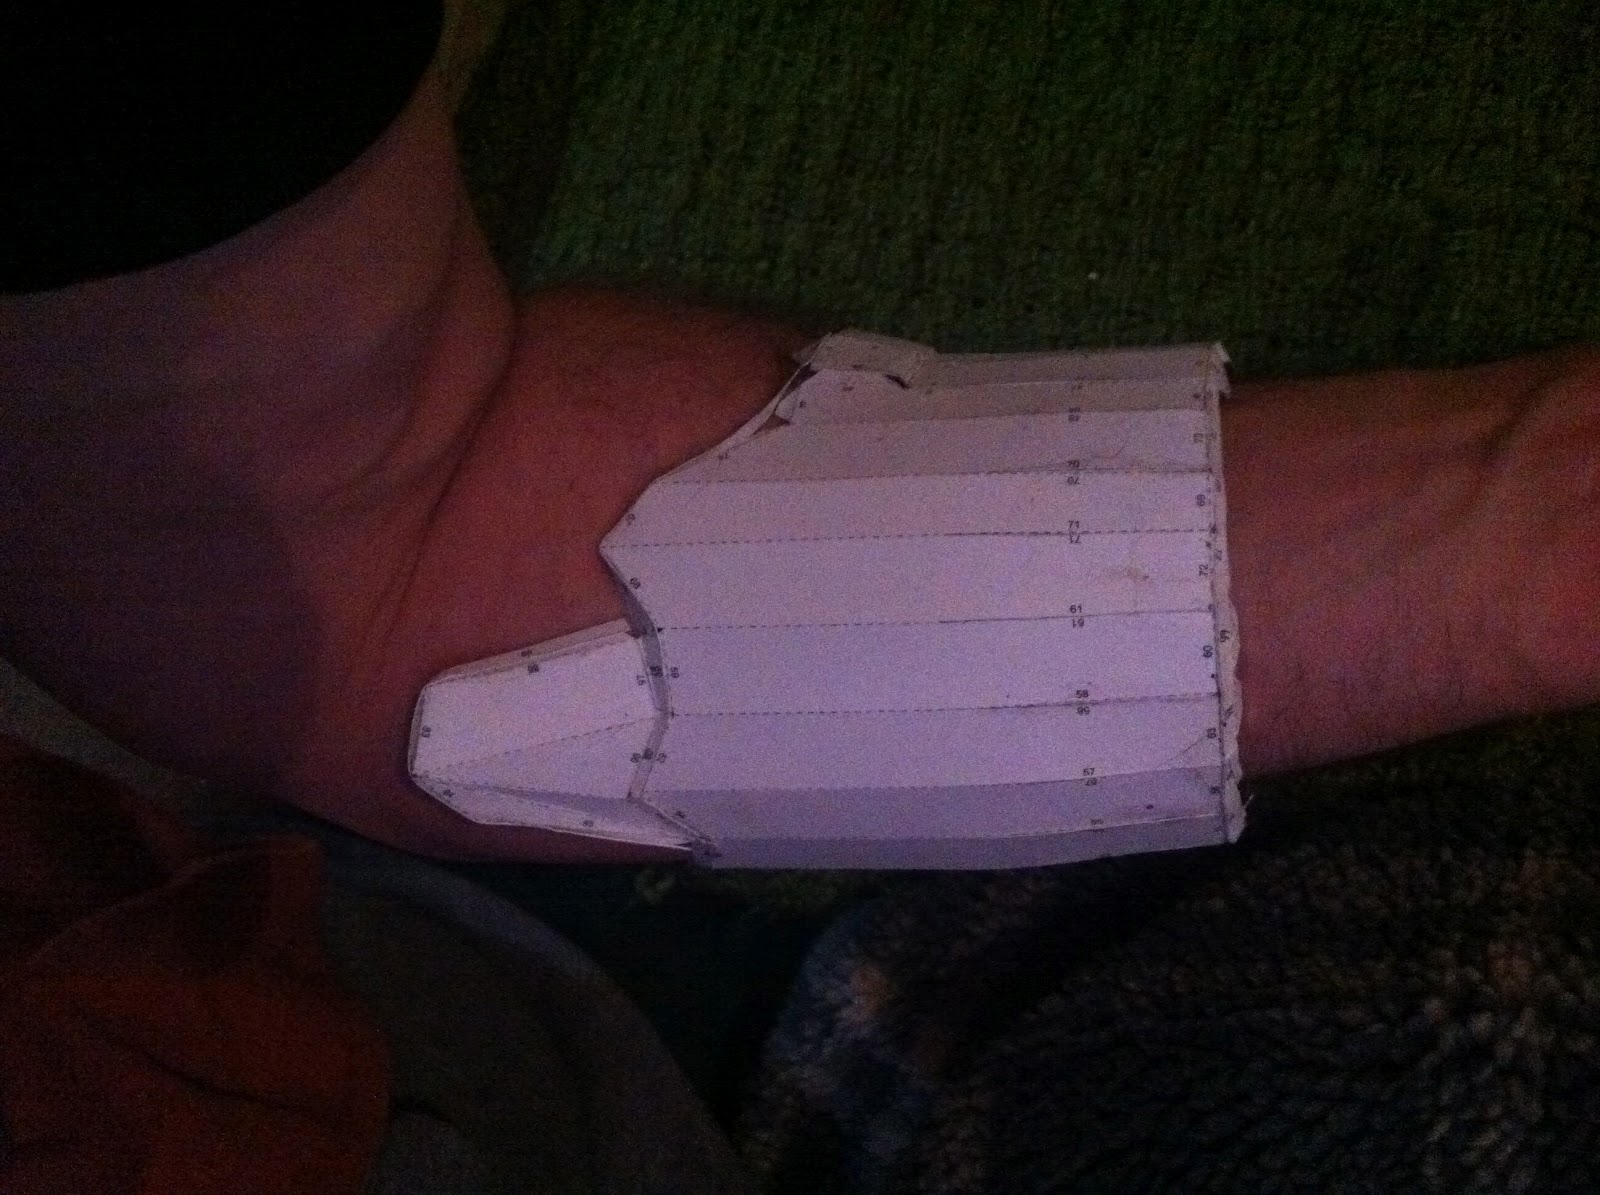


 So I scaled the forearm pieces up - keeping the same scale for both upper and lower forearm pieces and the bicep pieces.


